

Introduction
Waking up from shoulder surgery marks the start of a vital journey. While the procedure itself corrects structural issues, the real work begins with rehabilitation. A structured, well-paced approach is essential for regaining strength, mobility, and overall function. Whether you’ve had a rotator cuff repair, arthroscopy, or shoulder replacement, your post-surgery protocol shapes your outcome.
Recovery requires patience, consistency, and informed guidance. With the right rehab strategy, you can avoid complications like frozen shoulder or re-injury and set a foundation for long-term shoulder health.
The Importance of Structured Rehabilitation
The shoulder’s broad range of motion makes it versatile but also vulnerable. Surgery can correct underlying damage, yet the muscles, tendons, and ligaments supporting the joint need time and active care to heal. A structured rehab program helps tissues repair, restores movement, and rebuilds strength without overstressing sensitive areas.
Skipping or rushing recovery puts you at risk for chronic pain, stiffness, and setbacks. A deliberate plan—gradually reintroducing motion and progressive exercises—lays the groundwork for a stable, functional shoulder.
Types of Shoulder Surgeries Covered
While each procedure has nuances, the overarching rehab principles are similar. Common surgeries include:
- Arthroscopic procedures – Such as rotator cuff or labral repairs
- Rotator cuff repair – May involve open or arthroscopic techniques
- Total shoulder arthroplasty (TSA) – Replacing the humeral head and socket
- Reverse shoulder arthroplasty (RSA) – For complex cuff tears and arthritis
Setting Realistic Expectations and Goals
Recovery is rarely linear. Good days and difficult days are normal. Full healing can span 4–6 months for moderate surgeries, or up to a year for extensive repairs or replacements. Celebrate small wins—improved range of motion, decreased pain—and follow medical advice closely to stay on track.
Phases of Recovery: Timeline & Milestones
Though exact recovery times differ based on individual factors, most rehab protocols share common stages.
Immediate Post-Op Phase (Weeks 0–2)
This stage emphasizes protection of the surgical site and managing pain.
Protecting the Repair: Sling Use and Precautions
Your arm will be placed in a sling immediately after surgery. This isn’t merely for comfort—it safeguards the repair during early healing. Shoulder Replacement Recovery Timeline guidelines typically recommend using your sling for 4–6 weeks, though specifics vary.
- Wear the sling as directed (usually around-the-clock except for gentle exercises or hygiene)
- Avoid lifting anything heavier than a coffee cup
- Refrain from active movement of the operated shoulder unless approved
- Maintain good posture to prevent neck or back strain
Managing Pain and Inflammation
Pain control promotes comfort and supports healing. Common strategies include:
- Following your surgeon’s prescribed medications
- Applying ice or using a Cryotherapy Device Guide for 15–20 minutes every few hours
- Keeping your arm elevated to reduce swelling
- Starting gentle pendulum exercises if approved
Early Rehabilitation Phase (Weeks 2–6)

This phase focuses on controlled movement without straining healing tissues.
Passive and Active-Assisted Range-of-Motion Exercises
Initially, you won’t actively lift your surgical arm. Progressive Passive & Active Therapy approaches involve gentle, therapist-guided exercises or using the other arm to move the operated shoulder.
- Passive range of motion (PROM) – Moved by a therapist or your non-surgical arm
- Active-assisted range of motion (AAROM) – Gradual, assisted movements
- Light pulley and wand exercises to maintain joint mobility
Controlling Pain: Nerve Blocks and Cold Therapy
As movement increases, pain control remains crucial:
- Transition from prescription opioids to milder medications when possible
- Continue ice or cryotherapy after exercise sessions
- Some patients benefit from Nerve Block Efficacy Review for targeted relief
Strengthening Phase (Weeks 6–12)
With adequate range of motion established, you’ll begin gentle strengthening.
Transitioning to Active Range-of-Motion
Around six weeks, you may start moving your arm on your own. Progress slowly and focus on proper form, avoiding compensations like shoulder shrugging or trunk shifting.
- Active range of motion in multiple planes
- Gradual progression from supported to unsupported arm movements
Scapular Stabilization and Rotator Cuff Activation
A strong, stable shoulder depends on the interplay between the scapular muscles and rotator cuff:
- Scapular retractions and protractions
- Isometric rotator cuff exercises
- Light resistance band work for balanced shoulder mechanics
Advanced Functional Phase (3–6 Months+)
Once basic strength and motion are regained, rehab targets higher-level function.
Progressive Resistance Training
- Gradually heavier resistance for all shoulder muscles
- Functional drills replicating everyday activities
- Core and leg exercises to enhance overall stability
Sport- and Activity-Specific Drills
If you have athletic or job-related demands, your therapist can design specialized exercises to prepare you safely:
- Sport-specific movements
- Plyometric training (when appropriate)
- Endurance and coordination exercises
Pain Management Strategies
Pain control is fundamental to ensure comfortable movement and steady rehab progress.
Pharmacologic Approaches
Oral Analgesics (Opioid vs. Non-Opioid)
Short-term opioid use may be necessary for severe pain, though most individuals transition to non-opioid meds like acetaminophen or NSAIDs within the first couple of weeks. Always follow your doctor’s dosing instructions closely, especially with opioids.
Interscalene Nerve Blocks: Benefits and Considerations
Regional anesthesia can reduce the need for systemic medications in the early days of recovery. Single-shot blocks typically last 12–24 hours, while continuous blocks offer extended relief but may result in temporary numbness or weakness.
Non-Pharmacologic Therapies
Cryotherapy Devices vs. Traditional Ice Packs
Cold application helps reduce inflammation and discomfort. Traditional ice packs work well, but specialized devices can provide more uniform cooling or compression.
- Advanced devices may offer better early pain relief
- Continuous Cryo vs. Ice research supports consistent application
Optimizing Application: Timing, Temperature, Compression
Use cold therapy 15–20 minutes at a time, every few hours, especially after exercise. A thin barrier between skin and the cold source protects from frostbite. Elevation, deep breathing, and gentle movement within safe limits further assist pain control.
Restoring Range of Motion
Regaining functional range of motion is a cornerstone of shoulder rehab, carefully paced to prevent setbacks.
Passive versus Active-Assisted Techniques
Early on, a therapist or your non-surgical arm may move the shoulder to prevent stiffness. Gradually, you’ll participate more actively in each movement.
Progression to Active ROM: Avoiding Compensatory Movements
As you move independently, watch for unwanted patterns like shrugging or bending sideways. Your therapist may use mirrors or video to keep your form consistent.
Addressing Stiffness and Preventing Frozen Shoulder
Daily exercises help avoid significant range-of-motion loss. Apply heat before stretching for flexibility, and ice afterward to minimize inflammation. Consistent practice is key; consult your provider if progress stalls.
Rebuilding Strength
Once pain is manageable and motion is adequate, strengthen muscles methodically to support the shoulder joint.
Early Isometrics and Low-Resistance Exercises
Begin with gentle contractions without joint movement or minimal load exercises like wall slides. Focus on proper scapular positioning to set a stable base.
Thera-band and Cable-Machine Progressions
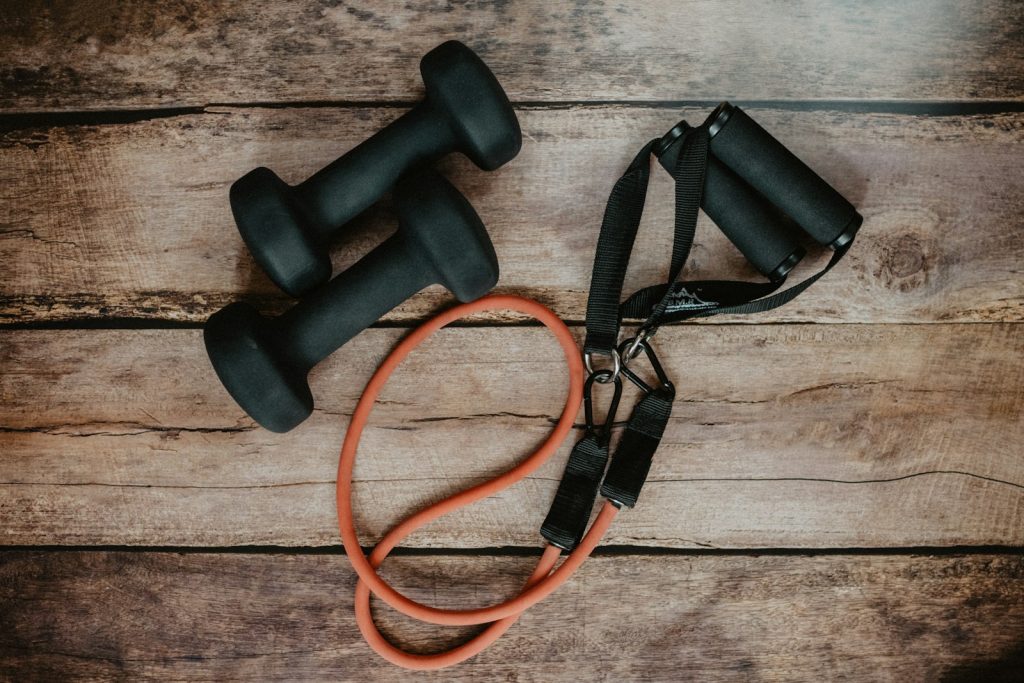
Resistance bands allow for gradual load increases. Start with very light tension, perfect form, and then move to stronger bands or light free weights as tolerated. Aim for balanced activation across all shoulder muscles.
Advanced Strengthening: Plyometrics and Functional Tasks
Later stages may include weight-bearing drills (like wall push-ups), medicine ball tosses, or sport-specific movements. Combining core stability and lower-body engagement helps overall performance and reduces shoulder strain.
Adjuncts to Support Healing
In addition to exercises and pain management, certain strategies further optimize recovery.
Nutrition for Tissue Repair and Bone Health
Ample protein and nutrients support healing. Vitamins C and D, zinc, and calcium can aid collagen formation and bone density. Hydration and balanced meals reduce inflammation and promote tissue repair. Research like Vitamin D & Tendon Health highlights the role of adequate vitamin D in healthy tissue remodeling.
Assistive Devices and Daily-Living Aids
Sling Types and Proper Wearing Techniques
Some shoulder repairs may require an abduction sling, which holds the arm away from the body. Others need only a simple immobilizer. Follow your surgeon’s directions on how and when to remove the sling for exercises or showering.
Braces, Reachers, Dressing Aids
Long-handled reachers, button hooks, and other tools can simplify daily tasks while you’re restricted. A shower chair or slip-on shoes may also help maintain independence safely.
Lifestyle Adaptations & Daily Living
Thoughtful changes at home can make everyday activities more manageable and protect your healing shoulder.
Sleep Positioning and Comfort Hacks
Use pillows to support the operated arm or try sleeping in a semi-reclined position if lying flat is uncomfortable. A body pillow can prevent rolling onto the surgical side during the night.
Ergonomic Home Modifications (Kitchen, Bathroom, Living Areas)
Rearrange frequently used items so they’re within easy reach. Install grab bars in the bathroom, use pump dispensers for soap, and consider lightweight dishes or cookware.
Energy-Conservation Techniques and Task Simplification
Pace yourself and plan rest breaks. Break bigger tasks into smaller steps. Request help for difficult chores during the early weeks of recovery. Prioritizing your energy preserves strength for rehab exercises.
Preventing Complications & Setbacks
Staying alert to warning signs and following rehab guidelines can prevent serious problems.
Recognizing Warning Signs (Re-tear, Infection, Instability)
Call your doctor if you notice fever, unusual swelling, redness at the incision, a sudden increase in pain, or a sense of your shoulder slipping out of place. Numbness or tingling that worsens should also be evaluated promptly.
Strategies to Avoid Frozen Shoulder
Adhering to your exercise program and maintaining consistent range-of-motion work are critical. Applying heat before stretching loosens tissues; icing afterward reduces swelling. Maintaining adequate vitamin D levels may also aid tendon health.
Importance of Adherence to the Rehabilitation Protocol
A rushed or incomplete rehab can undo surgical corrections. Follow your exercise schedule, respect lifting restrictions, and communicate any issues or plateaus to your healthcare team. Consistency leads to the best results.
Psychological & Motivational Factors
Mindset plays a big role in recovery. Overcoming fear of re-injury and staying motivated can be challenging.
Coping with Frustration and Fear of Re-injury
It’s natural to worry about doing too much or too little. Gradual progress, guided by your therapist, helps you build confidence. Relaxation techniques and realistic goals also calm anxiety.
Goal Setting and Progress Tracking
Set specific, measurable objectives like “achieve 120 degrees of forward flexion by next month.” Track daily or weekly improvements to celebrate each milestone. Adjust goals as you progress.
Seeking Professional Support and Peer Encouragement
Keep communication open with your surgeon and physical therapist. They can adjust your program to ensure steady progress. Peer support—online or in person—can boost motivation and prevent feelings of isolation.
When to Consult Your Healthcare Team
Mild discomfort is common, but certain signs indicate a need for professional evaluation.
Persistent Pain or Swelling
If pain escalates instead of improving, or if swelling doesn’t subside over time, alert your surgeon. Inadequate pain control can slow your progress.
Neurological Symptoms (Numbness, Tingling)
Temporary incision-area numbness is normal, but new or worsening numbness, tingling, or hand weakness may suggest nerve irritation.
Plateau in Progress
Recovery isn’t always steady, but a prolonged plateau—no improvement in motion or strength for multiple weeks—warrants professional input to adjust your rehab plan.
Conclusion & Next Steps
Recovering from shoulder surgery is a gradual, multi-phase process. By following medical guidance, pacing yourself, and prioritizing exercises and proper nutrition, you’ll steadily regain shoulder strength and mobility.
Recap of Key Takeaways
- Use your sling as directed to protect the surgical repair
- Progress through phases of rehab carefully to avoid setbacks
- Incorporate a balance of medication and non-pharmacologic methods for pain management
- Emphasize proper form during range-of-motion and strengthening exercises
- Adapt daily tasks at home to reduce strain on your shoulder
- Stay aware of warning signs and contact your healthcare provider with concerns
- Address mental and emotional challenges for a well-rounded recovery
Resources for Continued Support
- Your physical therapist’s home exercise program
- Educational materials from your surgeon’s office
- Reputable sources like orthopedic associations for additional reading
- Online or local support groups for shoulder surgery patients
Encouragement for Long-term Shoulder Health
Once you’ve completed formal rehab, staying active and maintaining good exercise habits help preserve your gains. Listen to your body’s signals, practice proper posture and lifting techniques, and keep periodic check-ins with your medical team as recommended. Shoulder surgery can be a fresh start for a stronger, more mobile life—embrace each step forward with patience and determination.
